
Last updated November 14, 2026
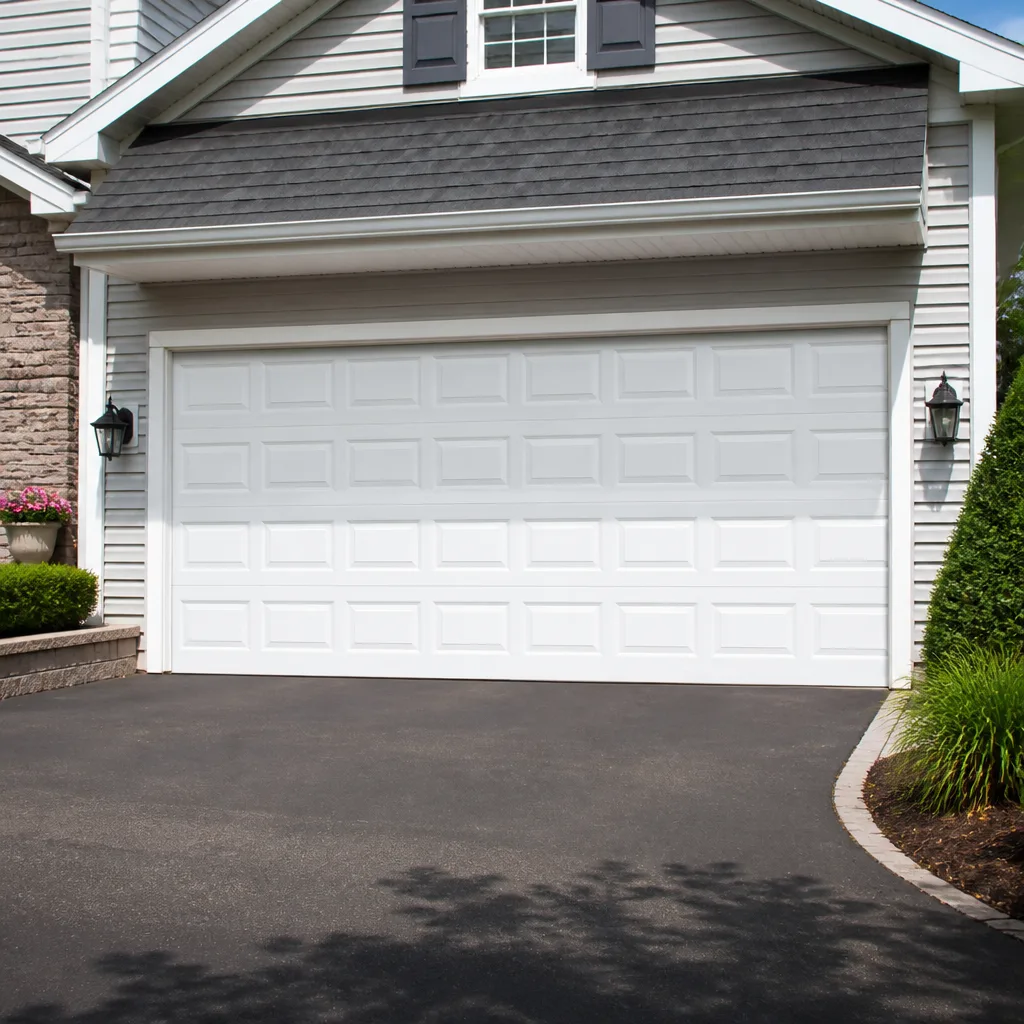 Raised-panel steel
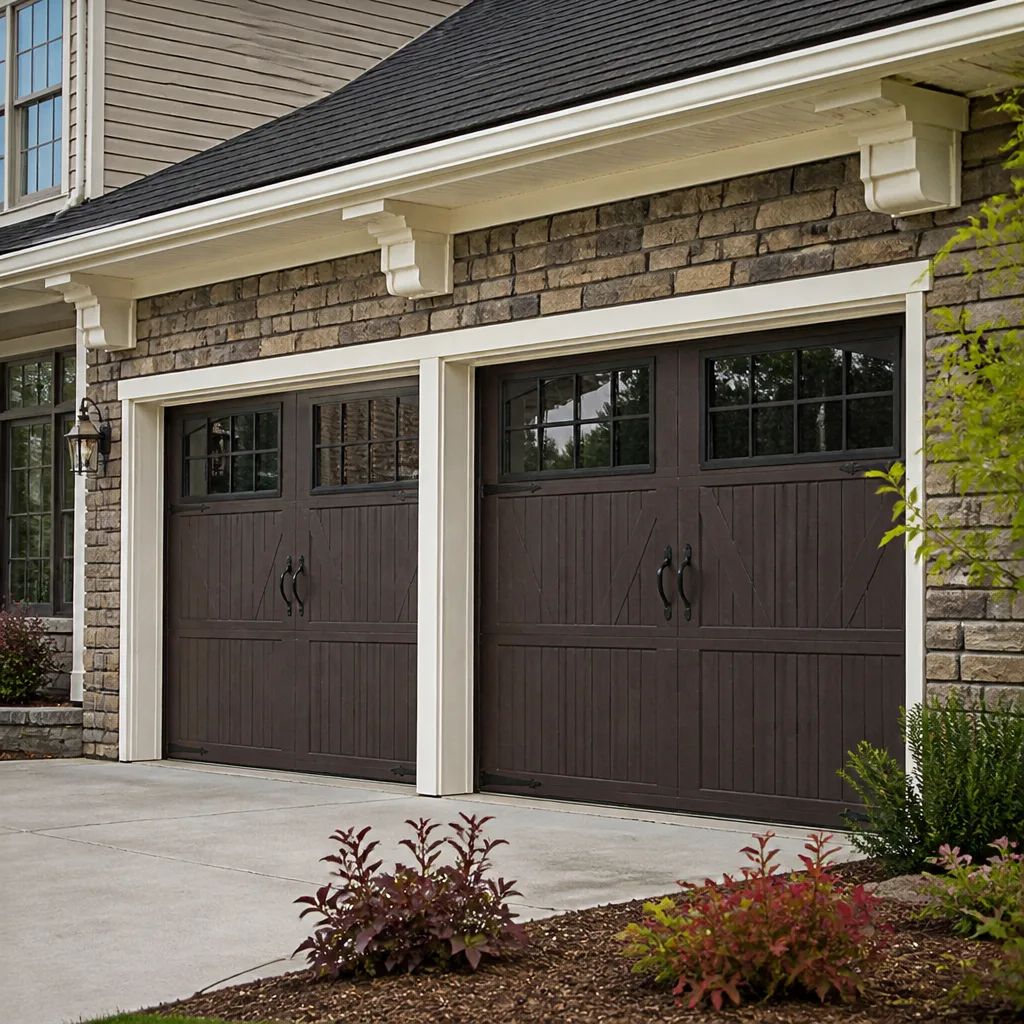 Carriage house
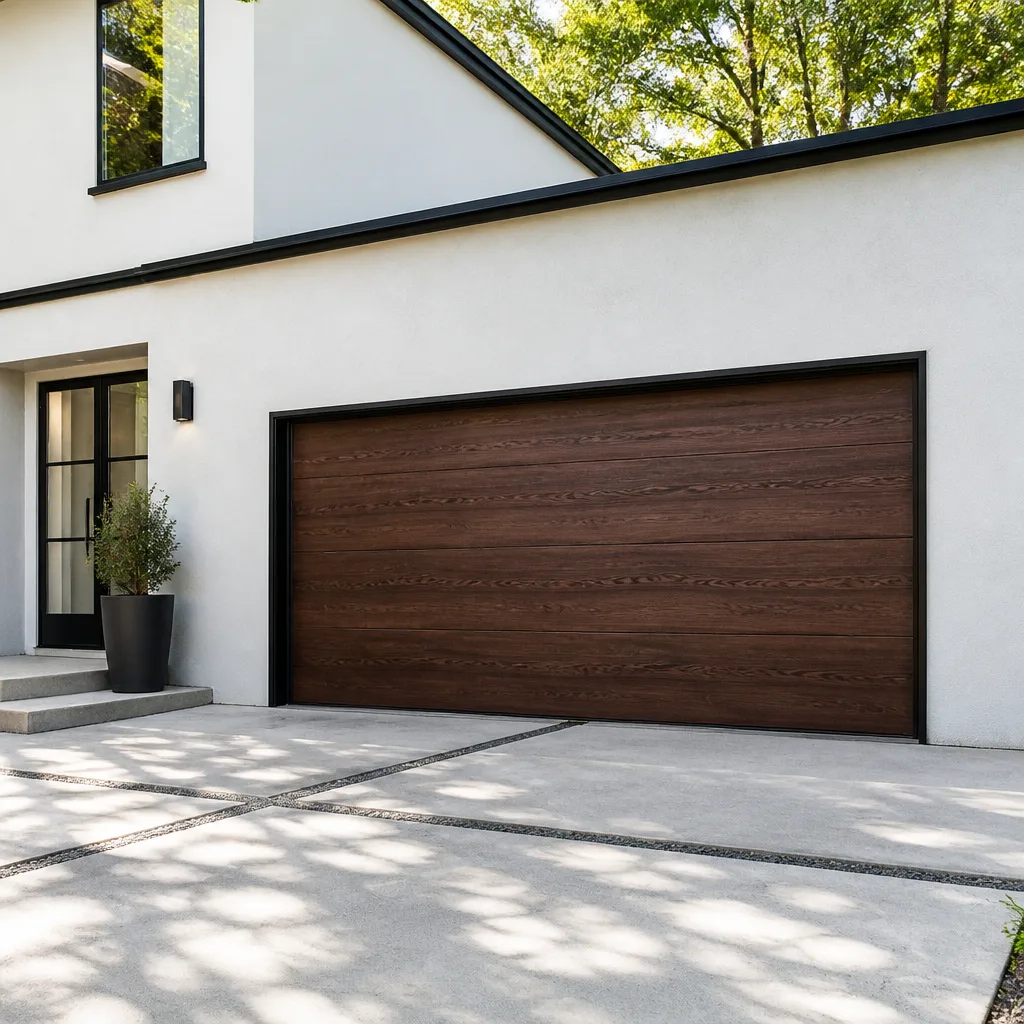 Modern flush
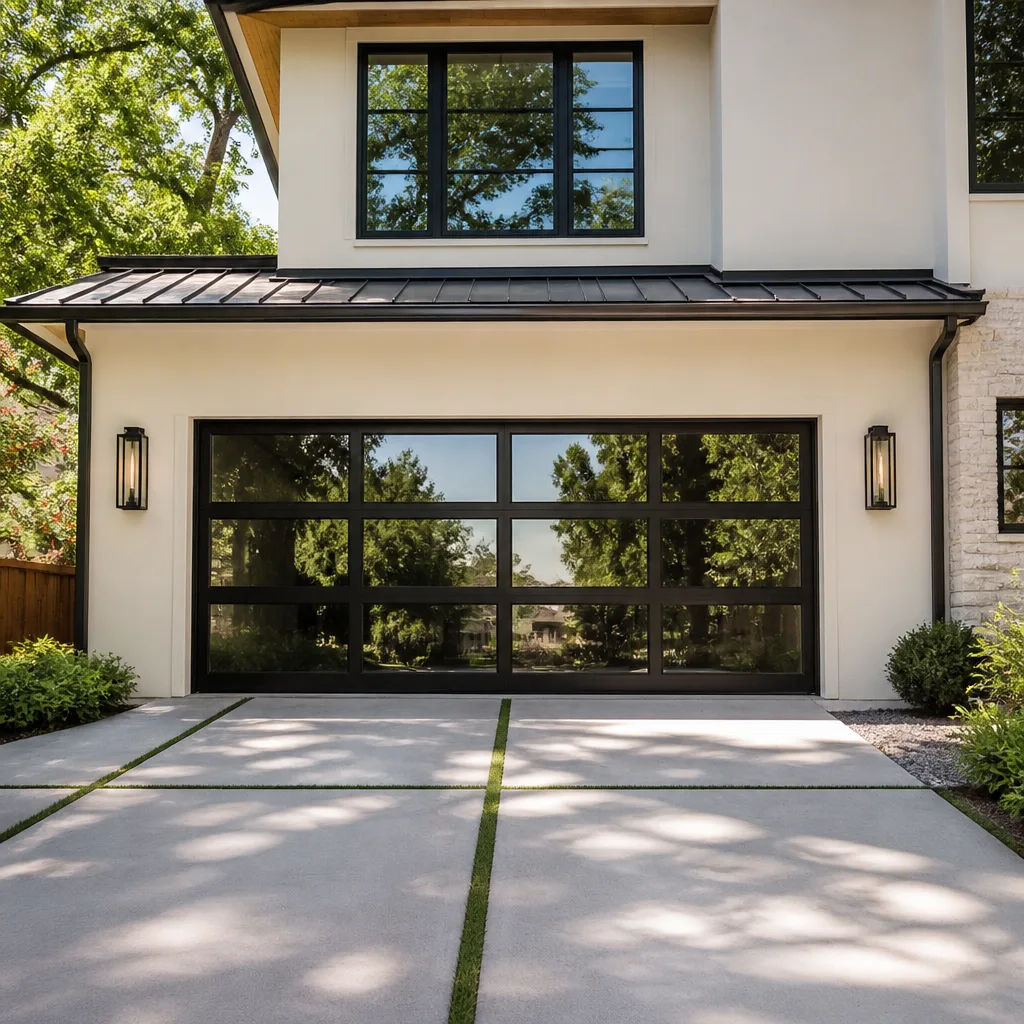 Full-view glass
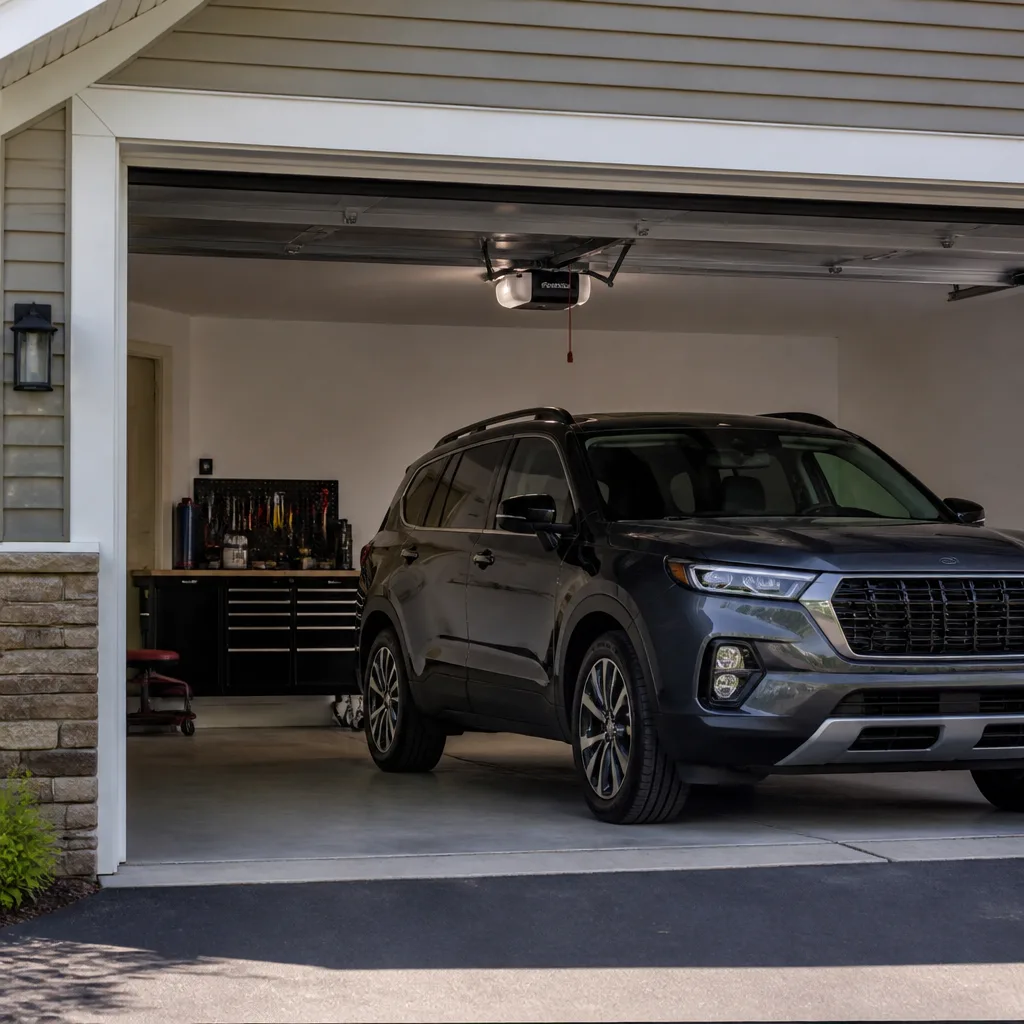 LiftMaster openers
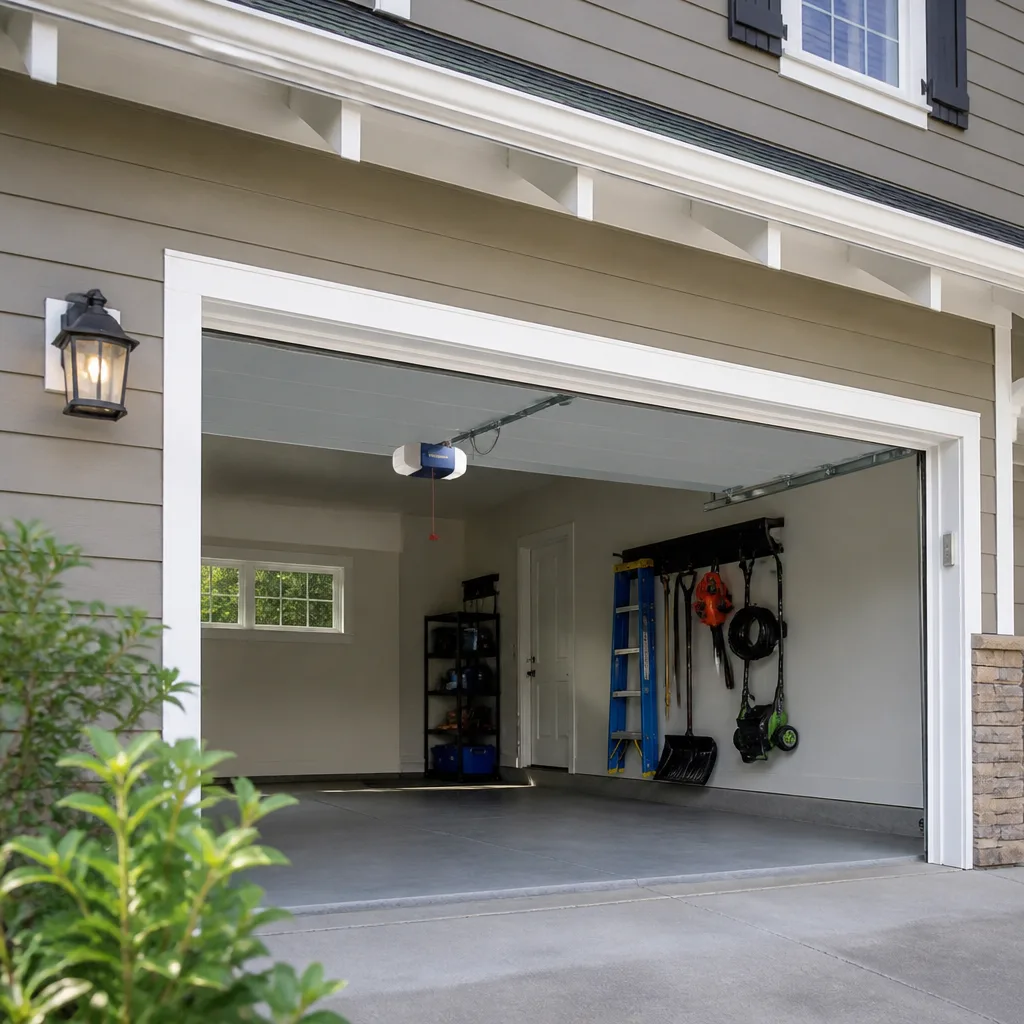 Chamberlain openers
Full 25-point door and opener safety check with every visit - springs, cables, rollers, tracks, and your LiftMaster or Chamberlain opener included
You get a price before we start. It does not change when the pro arrives.
Get your free estimateDIY vs Professional Garage Door: The Beaumont Homeowner’s Decision Guide
Most guides to this question get the framing wrong. They treat every garage door task as either obviously safe or obviously dangerous, then tell you to hire a professional for all of it. That’s not honest, and Beaumont homeowners know it. The truth is sharper: torsion spring work can kill you, and cleaning your photo-eye sensors takes four minutes. Between those poles sits a real middle ground where research and care go a long way. What almost no guide mentions is the local wrinkle – a DIY repair on a wind-load-rated door in Jefferson County can quietly undercut the documentation your windstorm coverage depends on. This guide sorts every common task into three honest columns and explains the reasoning behind each one.
Quick Answer
Safe DIY garage door tasks are limited to things that involve no stored mechanical energy: cleaning safety sensors, reprogramming remotes and keypads, lubricating hinges and rollers, and replacing bottom weather seal. Everything touching torsion springs, cables, drums, or the counterbalance system is professional-only because of stored-tension injury risk. Panel replacement, opener logic-board work, and any repair on a wind-load-rated door in Beaumont should go to a specialist, partly because the repair documentation can matter for windstorm insurance.
Styles & brands we work with
- Raised-panel steel
- Carriage house
- Modern flush
- Full-view glass
- LiftMaster openers
- Chamberlain openers
Table of Contents
- The Three-Column Task List: Safe DIY, Research-Required, Professional-Only
- Why Torsion Spring Work Is Non-Negotiable for Professionals
- Wind-Load-Rated Doors and Jefferson County Windstorm Insurance
- The Real Cost Comparison: Parts, Tools, Error Risk, and Diagnosis
- When DIY Is Genuinely the Right Call in Beaumont
- The Middle Column: Tasks You Can Do With Real Research
- How a Specialist Diagnoses What You Can’t See
- Beaumont’s Humidity, Heat, and What They Do to Your Door
The Three-Column Task List: Safe DIY, Research-Required, Professional-Only
Garage door work isn’t one skill. It’s a set of unrelated tasks that happen to share the same piece of hardware. Sorting them by the actual risk they carry – not by how hard they look – is the single most useful thing you can do before you pick up a wrench.
Column 1: Safe DIY
These tasks involve no stored mechanical energy, no overhead weight, and no electrical hazard beyond low-voltage sensor wiring. A careful homeowner can handle all of them.
- Cleaning photo-eye sensors. Wipe the lenses with a soft cloth. Realign if the LED is off. Five minutes.
- Reprogramming remotes and keypads. Follow the opener’s manual. On a LiftMaster or Chamberlain unit, this is usually pressing the learn button and holding the remote.
- Lubricating hinges, rollers, and tracks. A garage-door-specific lubricant on metal-on-metal contact points. No tools needed beyond a rag.
- Replacing bottom weather seal. The rubber strip at the bottom of the door slides out and back in. No spring tension involved.
- Visual inspection. Look at cables for fraying, springs for gaps, rollers for flat spots. This costs nothing and catches problems early.
- Testing the safety reverse. Place a 2×4 flat under the door and close it. The door should reverse on contact. Test monthly.
Column 2: DIY-Possible With Real Research
These tasks can be done by a homeowner who reads the full manual, watches a specific model-matched video, and accepts the risk of getting it wrong. They’re not dangerous in the way spring work is, but they’re easy to botch.
- Replacing a wall-mounted push button. Low-voltage wiring, straightforward, but you need to match the opener’s terminal layout.
- Replacing a battery backup on an opener. Plug-and-play on most modern Genie and Chamberlain units.
- Adjusting the opener’s travel limits. If the door stops short or reverses mid-travel, the limit screws can be adjusted. Requires patience and a clear head.
- Replacing a bent hinge. Hinges hold the panels together, not the door’s weight. Still, this requires the door to be fully closed with tension relieved from the affected hinge.
- Tightening loose track brackets. Only if the track itself is straight and undamaged. Never try to force a bent track back into place.
Column 3: Professional-Only
These are the tasks where a mistake causes serious injury. The list is short, and every item on it is short for a reason.
- Any torsion spring replacement, adjustment, or removal. Either spring, on any door.
- Any extension spring work. Lower stored energy than torsion, still dangerous.
- Cable replacement. Cables are under full spring tension whenever the door is closed.
- Drum, bearing plate, or center bracket work. All under tension.
- Panel replacement on a sectional door. The door must be properly braced and the tension relieved before a panel comes out.
- Opener logic board or motor replacement. High-voltage connections inside the unit.
- Any repair on a wind-load-rated door that will be inspected for insurance documentation. More on this below.
Why Torsion Spring Work Is Non-Negotiable for Professionals
A torsion spring on a standard residential door holds enough stored energy to lift the door’s full weight – often 150 to 250 pounds – every time the opener runs. That energy is present any time the door is in any position other than fully open with the springs relaxed. Releasing it without warning is not a liability disclaimer; it’s physics, and the physics don’t care how careful you are or how many videos you’ve watched.
What actually happens during a failed release
The winding bars that hold the spring during adjustment can kick out with enough force to break a wrist or worse. The spring itself, when it fails, uncoils in a fraction of a second with enough momentum to strike anything in its path. We’ve seen the aftermath in Beaumont more than once – the failure isn’t the kind of thing most homeowners want to learn firsthand.
Why “I’ve done it before” isn’t the reassurance it sounds like
Experienced DIYers do occasionally replace torsion springs successfully. The problem is that the failure mode isn’t gradual. There’s no warning wobble before the winding bar slips. A homeowner who successfully replaced one spring last year has the same risk on this year’s door as someone who’s never done it, because the physics don’t accumulate. Every release attempt is a fresh event.
Professional technicians work with a set sequence – the door fully closed, the set screws backed off in a specific order, the bars seated correctly, the torsion tube supported throughout. That sequence exists for a reason. Our trained technicians have up to 9 years of experience and still follow every step, because the sequence is what protects them, not memory.
The parts-matching problem
Torsion springs are matched to the door’s weight, width, and cycle count. A spring with the wrong wire gauge, inside diameter, or length either won’t lift the door or will wear out in months. When we work on a Clopay or Amarr door, we match the spring spec to the door’s actual rated weight. Off-the-shelf springs from a home center don’t come in the full range of sizes, and a close-enough spring on a Beaumont door in summer heat is a spring on borrowed time.
Wind-Load-Rated Doors and Jefferson County Windstorm Insurance
This is the section most DIY-versus-pro guides skip, and it matters more in Beaumont than almost anywhere. If your home carries a windstorm policy through TWIA (the Texas Windstorm Insurance Association), the garage door on your home may be part of what makes the structure insurable at all. Altering it without documentation can complicate a future claim.
What a wind-load rating actually is
A wind-load-rated door is engineered and tested to withstand specific positive and negative pressure loads. The rating is tied to the door’s structural components – the panels, hinges, struts, reinforcement, and in many cases the specific bracket patterns used to anchor the tracks to the frame. Change those components without knowing what you’re doing and the door’s rated performance may no longer match its engineering. That’s the operative word: may. The rating isn’t voided by every touch, but it isn’t preserved by guesswork either.
What professionals provide that DIY cannot
When we repair a wind-load-rated door in Beaumont, the customer receives a written diagnosis identifying what was replaced, with which specification, and why. That piece of paper is the difference between “the door was repaired” and “the door was repaired to its engineered specification.” When a claim gets reviewed after a storm, the second claim is much easier to support.
If you’re unsure whether your door is wind-load-rated, look at the door’s manufacturer label, typically on the inside face of the top panel. Clopay, Amarr, and Raynor all print a wind-load indication on the door, and the model number tells you more.
When to ask your insurer
Homeowners with TWIA coverage who are planning any significant repair to a rated door should ask their agent what documentation they’ll need. That’s not a question we can answer for you – it’s your policy, and your agent is the right person to ask. What we can do is make sure the repair work you end up with produces the documentation in the first place.
The Real Cost Comparison: Parts, Tools, Error Risk, and Diagnosis
The usual cost comparison is dishonest because it stops at the parts price. Here’s the fuller math.
Parts and materials
- Retail spring kit from a home center: often available, but with a limited range of sizes. May not match your door’s rated weight.
- Manufacturer-spec spring: matched to the door’s specific weight and cycle rating. Usually not available at retail.
- Extension spring pair: typically lower retail cost than torsion; lower stored energy, still professional work.
- Torsion spring (single): usually replaced in matched pairs, so effective cost is roughly double a single-spring number.
- Safety cables (mandatory with extension springs): cheap, but must be correctly installed and anchored.
Tools you’d need and probably don’t have
Winding bars, proper C-clamps rated for the load, a spring scale, and a torque wrench for the bracket bolts. The winding bars alone are a specialty item, and a homemade substitute is the most common cause of injury in DIY spring work. Factor the tool cost into any comparison, and remember that most of these tools have no other use in your garage.
Error risk
A mistake on a spring replacement can send the door crashing, damage the opener, bend the tracks, or injure the person doing the work. Each of those outcomes costs more than the professional repair would have. A homeowner who succeeds on the first try saved money; a homeowner who fails once spent twice.
The diagnostic value a specialist brings
This is the piece YouTube skips. When a door won’t close, the visible symptom is one of a dozen things: a misaligned sensor, a limit switch off by an inch, a failing logic board, a frayed cable, a bound roller, or a spring slightly out of balance. A specialist diagnoses the actual problem before touching anything. A homeowner watching a tutorial fixes the symptom the tutorial was about, which may or may not be what’s wrong with the door.
When we work on a LiftMaster or Genie opener, we start with the diagnostic sequence rather than guessing at parts. That’s where the money goes, and it’s why the second or third call to a professional usually ends the problem.
When DIY Is Genuinely the Right Call in Beaumont
We’re a garage door specialist, so it might surprise you that we tell people to handle some things themselves. It shouldn’t. A homeowner who cleans their own sensors isn’t our customer – they’re our customer’s neighbor explaining to someone else why they called us for the spring. The tasks below are genuinely faster, cheaper, and better done by you.
- Your remote stops working. Before you call anyone, replace the battery. Then check that the lock button on the wall control isn’t engaged. Then reprogram using the opener’s manual. Nine times out of ten, this solves it in under ten minutes.
- One sensor is legitimately blocked. Beaumont’s pollen season clogs the lenses. Wipe both sensors and check that neither has a fallen leaf or a spider web across the lens.
- The door reverses on contact with the ground. Check the bottom weather seal for a small obstruction. Sometimes the issue is a stiff seal in cool weather, not a mechanical fault.
- You hear a squeak as the door runs. Lubricate the rollers, hinges, and the torsion tube bearings with a garage-door-specific spray. Usually quiets it entirely.
- You want a monthly visual inspection. Look at the springs for a visible gap, the cables for fraying, the panels for cracks, and the rollers for flat spots. Note anything suspicious and call when you see it.
- You want to know if your door is wind-load-rated. Read the manufacturer label on the inside of the top panel. That’s information your insurance agent will ask for.
None of these involve stored energy, overhead weight, or electrical hazard beyond low-voltage sensor wiring. They’re within the range of a careful homeowner, and calling a specialist for each of them would be wasteful on your end and pointless on ours.
The Middle Column: Tasks You Can Do With Real Research
This is where most guides give up and say “hire a pro,” which is unhelpful. The middle column is real. Here’s how to decide if a task belongs in it for you.
Three questions to ask before starting
- Does this task involve stored energy? If yes, it’s professional-only. That means torsion springs, extension springs, cables, drums, and bearing plates. Stop here.
- Does the door need to stay in a specific position for safety? If yes, and you can’t confidently verify the position with the manual open in front of you, it’s professional-only.
- Is the door wind-load-rated and were you planning to touch the panels, hinges, or track anchoring? If yes, professional-only, and the insurance documentation question comes back into play.
Tasks that pass all three
- Replacing the wall-mounted push button. Low voltage, single cable, match terminals, done.
- Replacing a Wi-Fi gateway or battery backup module on a smart opener. LiftMaster’s MyQ module, Chamberlain’s similar unit, Genie’s version – all are plug-and-play on modern models.
- Adjusting the opener’s travel limits. Requires the manual and patience. Do one quarter-turn at a time and test with the door unloaded.
- Tightening loose track brackets. Only if the track is straight and the door runs smoothly. If the track is bent, don’t force it.
- Replacing a bent hinge on a door in the fully closed position, with the affected hinge fully relieved of tension. If you can’t confidently identify “fully relieved,” call a specialist.
If you’ve read through this section and you’re not sure which category a task falls into, that’s your answer: it’s not safe to start. Our garage door repair team diagnoses over the phone or on-site, and there’s no cost to ask.
How a Specialist Diagnoses What You Can’t See
The visible failure is rarely the actual problem. When a door won’t open, the complaint is usually “the opener is broken,” and the diagnosis is usually a spring that’s lost tension, a photo-eye knocked out of aim, or a limit switch that’s drifted. Getting the diagnosis right the first time is where most of the money is saved.
What a proper diagnostic visit looks like
- Ten-point safety check. Springs, cables, rollers, hinges, tracks, panels, opener force settings, safety reverse, sensors, and balance. Yes, all ten. This is why a specialist exists.
- Balance test. Disconnect the opener and lift the door halfway by hand. It should stay put. If it drifts, the spring tension is off.
- Force test. Check that the opener reverses on a 2×4 and that the force settings haven’t been cranked to mask a mechanical problem.
- Part inspection. Cables checked for fraying, springs checked for gaps, rollers checked for flat spots, hinges checked for wear.
- Plain-language explanation. What failed, why it failed, what it takes to fix, and what it costs before any work starts.
That last step is what we call the transparency standard. You get the diagnosis and the price in writing before anything gets touched. It’s also why we specialize. A generalist contractor who rotates between trades will run the balance test, miss the frayed cable, and hand you a bill for a repair that doesn’t last. Our trade is only garage doors, so the diagnostic sequence doesn’t get skipped. If you’d rather start with the garage door opener repair side of things, that’s a separate diagnosis and it lives on its own page.
Beaumont’s Humidity, Heat, and What They Do to Your Door
BEAUMONT’s climate puts specific wear on garage doors that a homeowner in a drier part of Texas won’t see. That’s worth knowing before you decide whether to hire out a repair.
What the humidity does
Steel panels on a Beaumont door see more cycle-to-cycle expansion than in a drier climate. The steel itself doesn’t corrode from summer humidity so much as the fasteners do, and the bottom weather seal takes the most abuse because it’s touching wet concrete through the rainy season. If your bottom seal is cracked or missing, water gets under the door and the panel edges start showing rust. Replacing the bottom seal is a safe-DIY task and one of the more useful things a Beaumont homeowner can do to keep the door healthy.
What the heat does
Lubricant breaks down faster in summer heat. A door that ran quietly through winter can start squeaking by June. That’s normal. Regrease hinges and rollers with a garage-door-specific lubricant, not WD-40 (it’s a solvent, not a lubricant). If the squeak survives a regrease, the roller is failing at its bearing and needs replacing.
What the seasonal storms mean for springs
Springs don’t fail from heat or rain, but they do fail from cycle count – and doors in Beaumont tend to cycle more in the summer if the garage is the path to a pool, a workshop, or a second car. A door that cycles eight times a day wears through a standard 10,000-cycle spring faster than one cycling twice. If your door is on its second spring or more, the current spring may be under-spec’d for how often your door actually runs. That’s a conversation worth having with a specialist before the second failure.
Common Mistakes to Avoid
- Using WD-40 as a garage door lubricant. It’s a solvent, not a lubricant, and it strips the actual grease off hinges and rollers. Use a product labeled for garage doors, or a light lithium grease.
- Winding a torsion spring with homemade bars. Screwdrivers, dowels, and cut rebar are the single most common cause of spring-related injury in DIY. If you don’t have proper winding bars, you don’t have a spring job.
- Replacing only one of a paired torsion spring set. Both springs have the same cycle count behind them. Replacing one leaves the other to fail on a shorter cycle – often months later. Matched pair, or none.
- Adjusting the opener’s force setting to compensate for a mechanical problem. This masks the real problem – usually a failing spring or a binding roller – and stresses the opener’s motor and gears until they fail too.
- Removing a garage door panel without relieving tension. The panels aren’t structural by themselves, but the whole door is. Removing one with the springs loaded can cause the door to fold or the remaining panels to shift. This is not a benign task.
- Assuming the door’s insurance coverage is unaffected by DIY repairs. On a wind-load-rated door in Jefferson County, the documentation matters. Before any non-trivial repair, call your agent and ask what your TWIA coverage expects.
- Tightening a bent track back into place. A bent track is a symptom of a door that’s out of balance or has been hit. Forcing it straight usually bends it worse and can throw the rollers.
See the difference
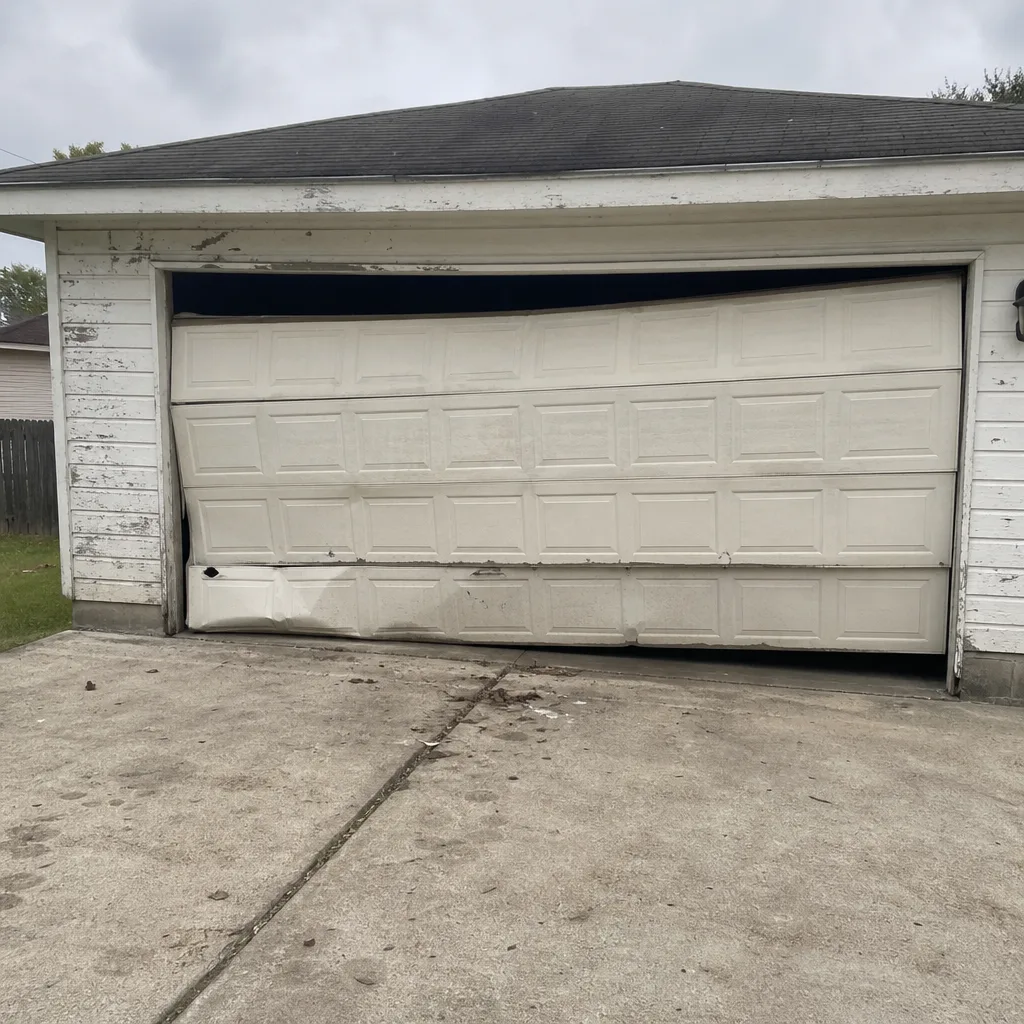 Before
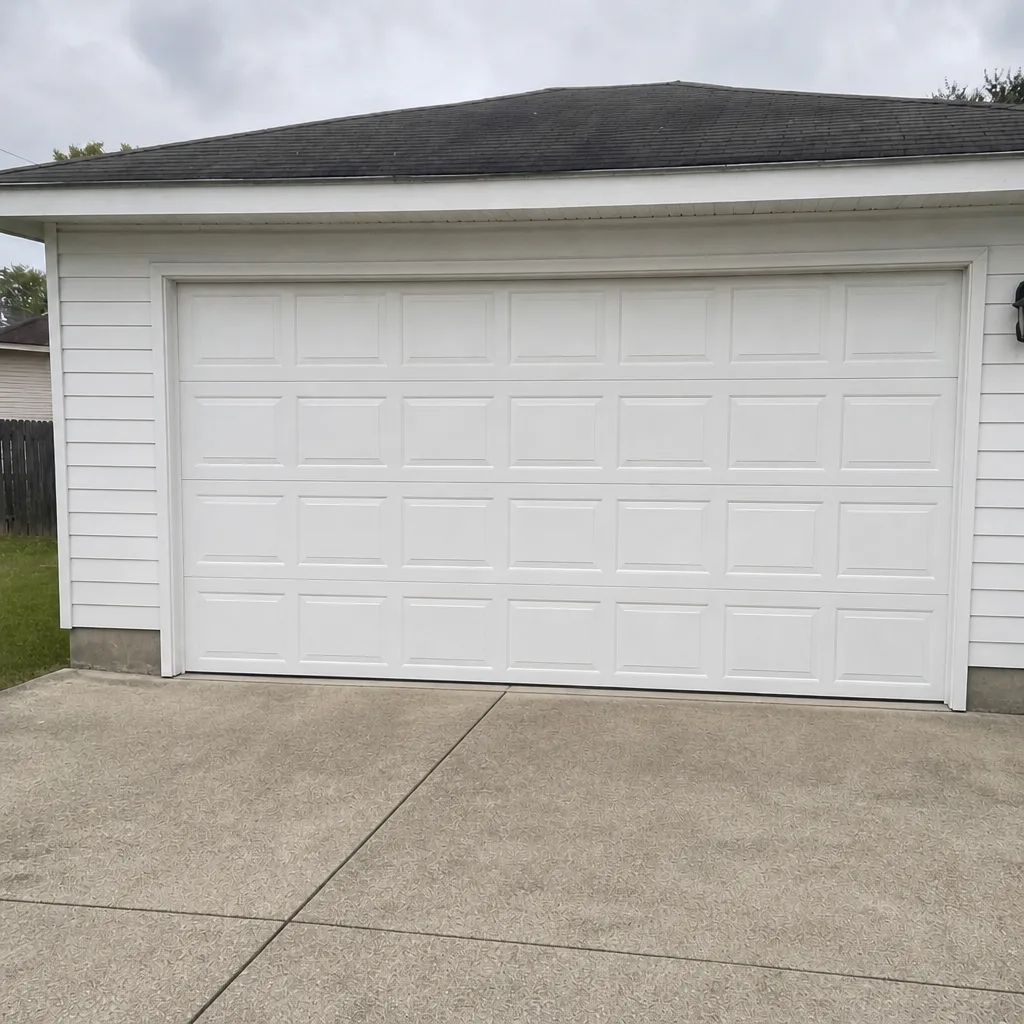 After
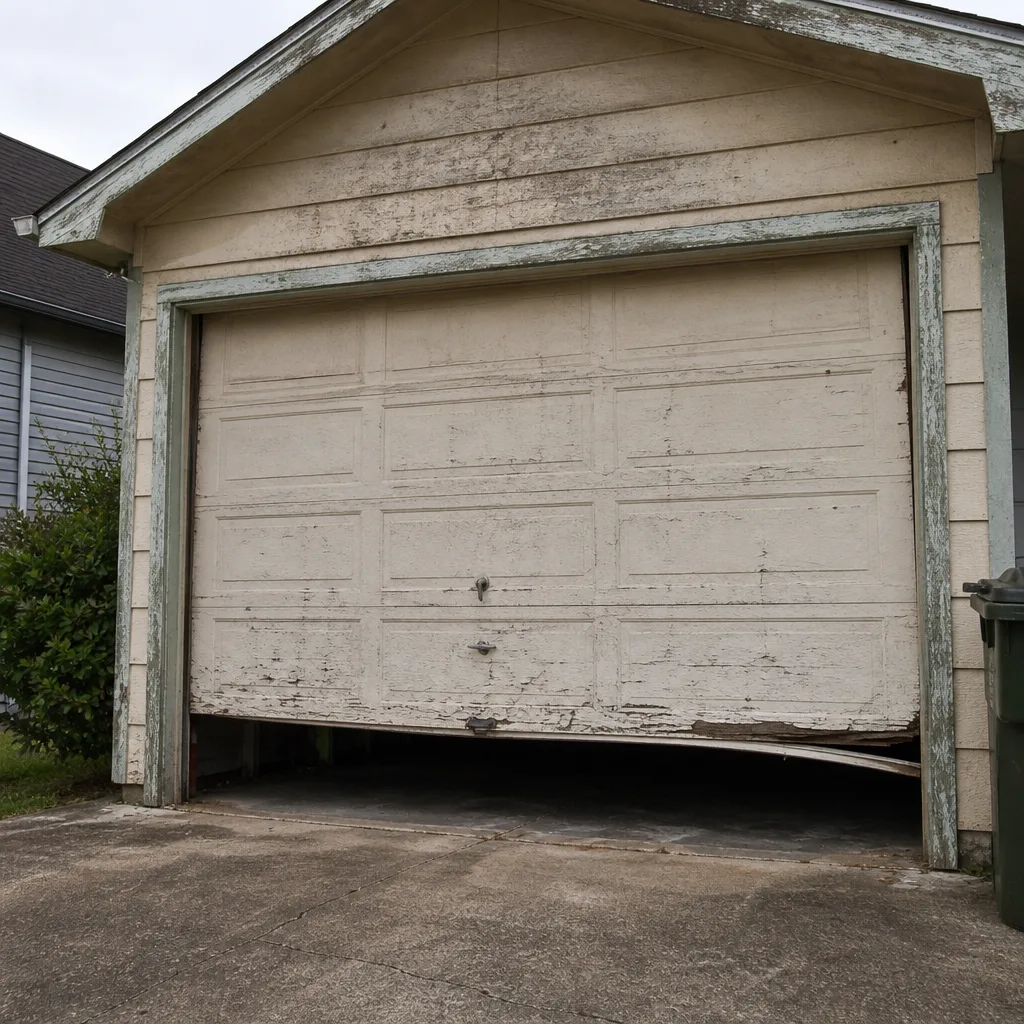 Before
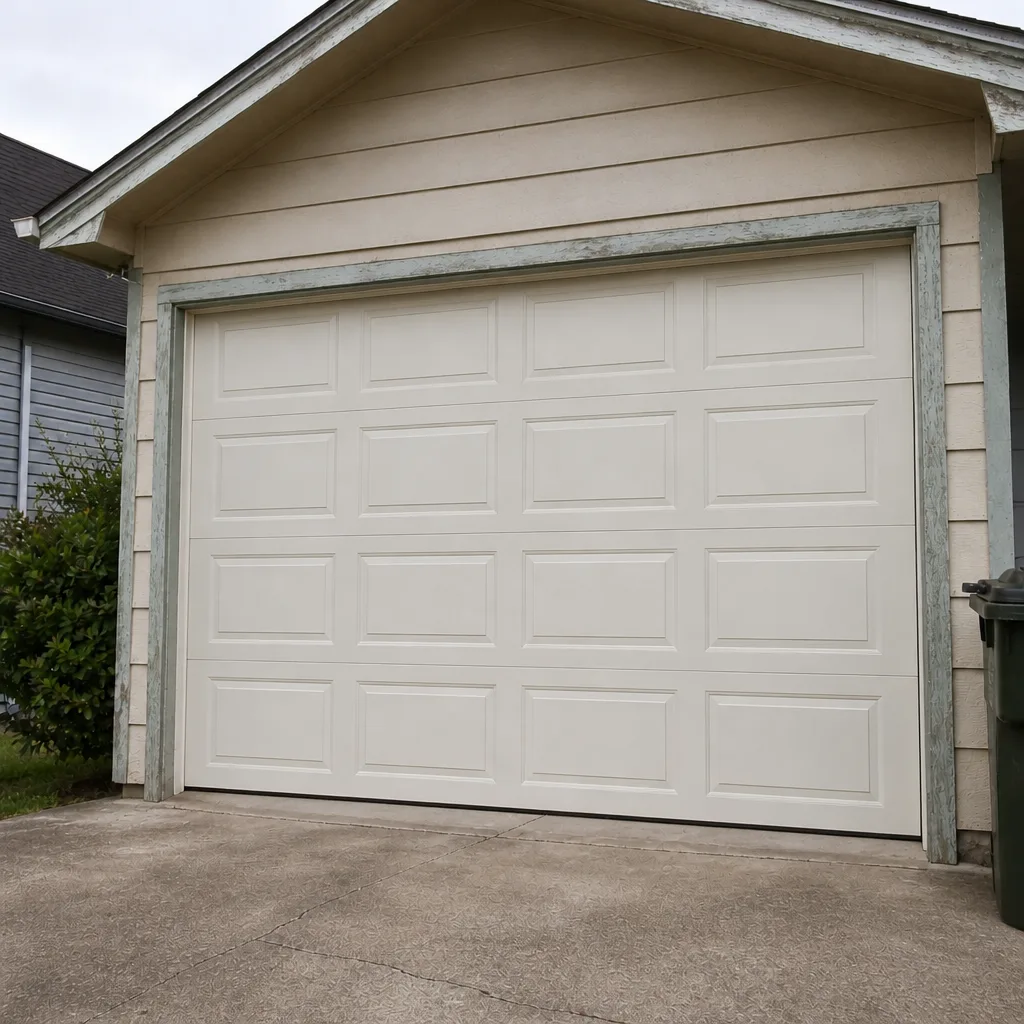 After
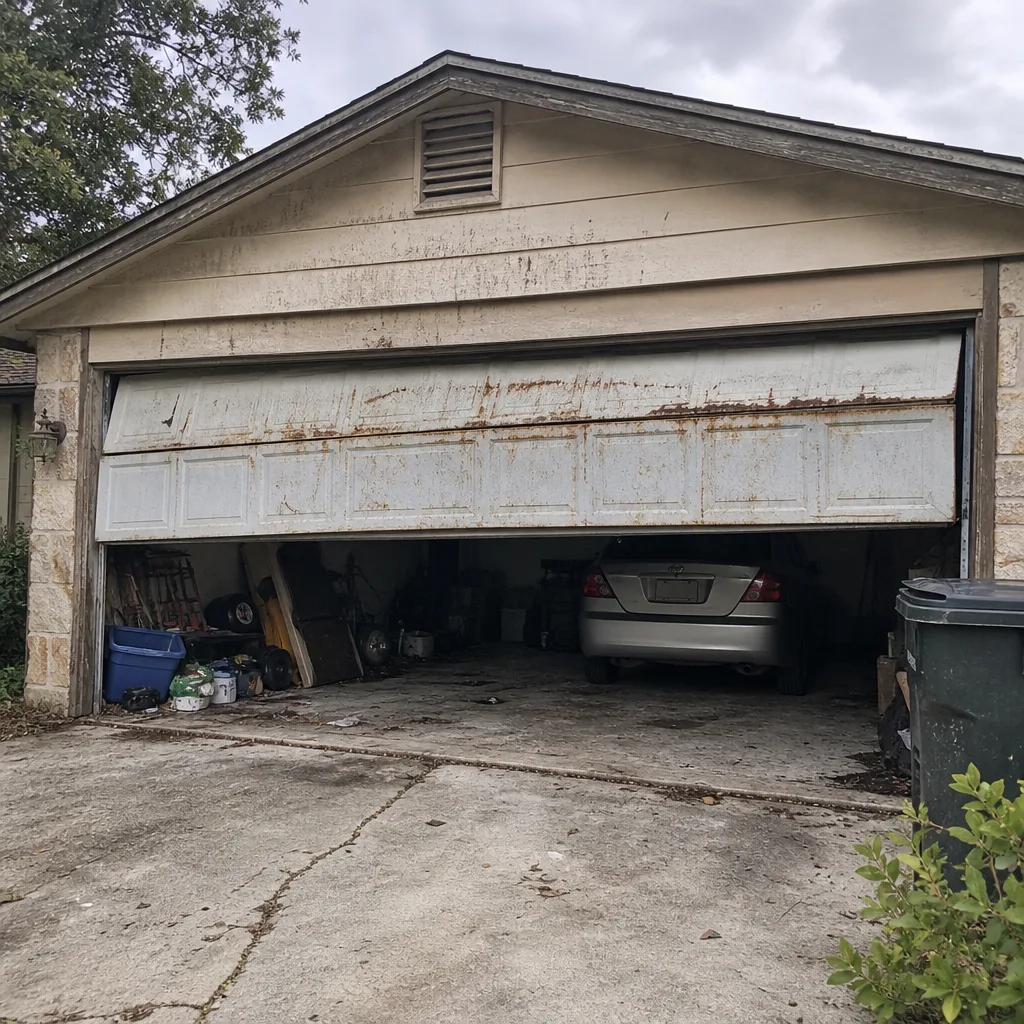 Before
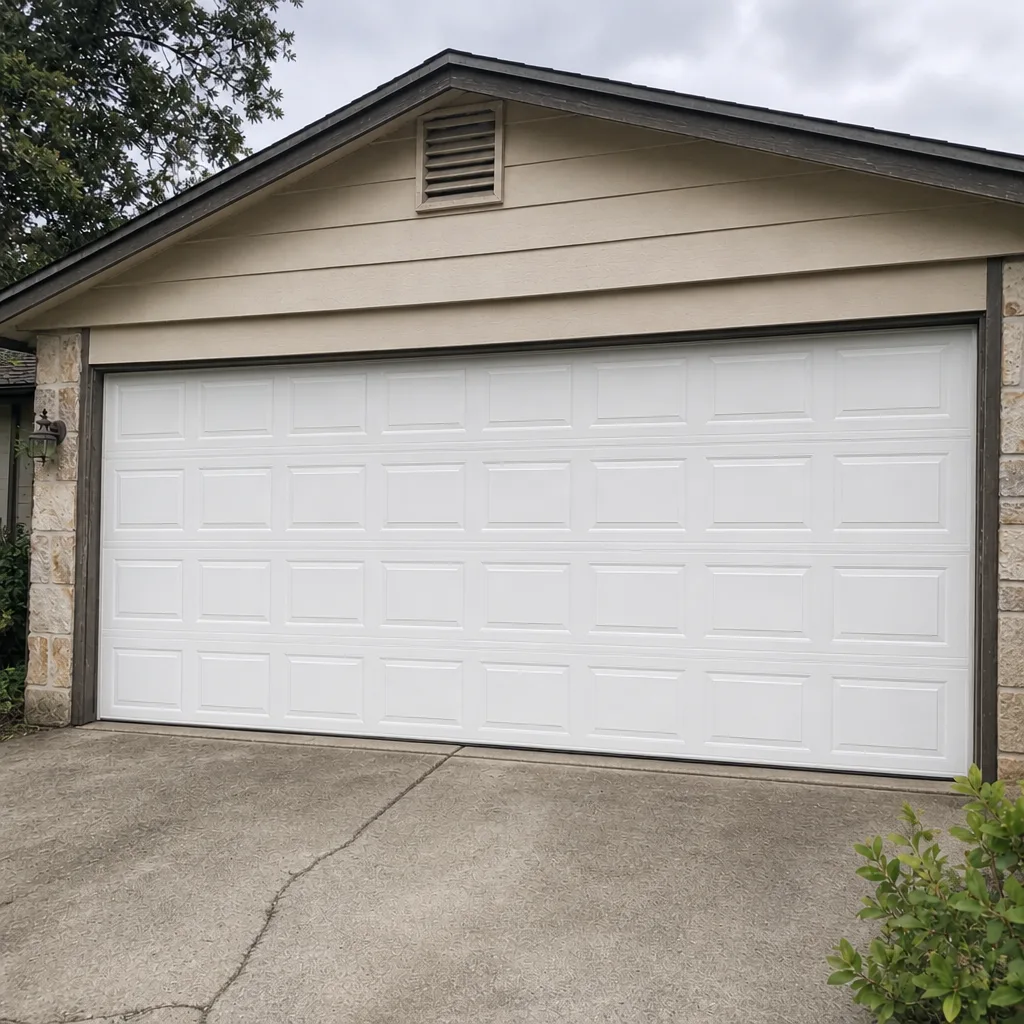 After
When to Call a Professional
Call a specialist any time the task involves a spring, a cable, a drum, a bearing plate, a door panel, or a high-voltage opener component. Call when the door won’t stay up on its own when lifted to the halfway point – that’s the balance test and it points to spring or counterbalance problems. Call when you see a visible gap in a torsion spring or fraying on a cable. Call when a door is wind-load-rated and you’re planning anything beyond the safe-DIY list, because your documentation may matter to your insurance. And call when the diagnosis is unclear – a door that reverses intermittently, or an opener that works from the wall button but not the remote, can have four or five causes and guessing wastes more than a professional diagnosis would cost.
Lantern Garage Door Repair offers free estimates in Beaumont – call (833) 549-9776. We answer 24/7. Fast dispatch from 7am to 7pm, Sunday through Friday, and our team specializes only in garage doors – not roofing, not plumbing, not a long list of trades.
Frequently Asked Questions
No, torsion and extension spring replacement should always be handled by a trained professional. The stored energy in a wound torsion spring can cause fatal injury during release, and the failure happens without warning. Homeowners sometimes succeed by luck, but the risk isn’t worth taking. Call (833) 549-9776 for a free estimate instead.
Safe DIY tasks include cleaning photo-eye sensors, reprogramming remotes and keypads, lubricating hinges and rollers, replacing bottom weather seal, testing the safety reverse, and doing monthly visual inspections. None of these involve stored mechanical energy or overhead weight. Anything touching springs, cables, drums, or panels is professional-only.
Possibly, particularly if your door is wind-load-rated and the repair changes the door’s structural components. A professional repair produces written documentation identifying what was replaced and to what specification, which supports a future claim. Homeowners with TWIA coverage should ask their insurance agent what documentation their policy expects before any significant repair.
Pricing is per job by written estimate, and a torsion spring replacement is typically quoted per spring with matched pairs quoted together. The written estimate sets the final price, and it’s provided before any work starts. Call (833) 549-9776 for a free estimate – estimates are free and there’s no dispatch fee.
Panel replacement on a wind-load-rated door can affect the door’s engineered performance if the new panels, hinges, or track anchoring don’t match the original specification. That’s one reason panel replacement belongs in the professional-only column. A specialist matches the replacement to the door’s rated weight and wind-load specification.
If sensors are clean and aligned and the door still reverses, the cause is usually the opener’s travel limits, the force setting, or a mechanical binding issue – often a failing spring, a flat roller, or a slightly bent track. A specialist diagnostic identifies which before any parts are ordered. Call (833) 549-9776 and we’ll walk you through it.
The price is quoted and agreed before any work starts. If the diagnostic turns up something that changes the scope, we stop and walk you through the additional work and cost before proceeding. No surprise invoices, and no work performed without your approval. Our Lantern Garage Door Repair team handles repairs, opener service, and full door installation.
Yes. Our technicians work on LiftMaster, Chamberlain, Genie, Clopay, Amarr, Wayne Dalton, Craftsman, and Raynor equipment. That means we know the differences between, say, a LiftMaster opener’s logic board and a Genie’s, rather than treating every system as generic. Brand recognition is part of the diagnostic speed. For homeowners in Beaumont, that translates to fewer return visits.
The Bottom Line
The DIY-versus-professional question has a real answer, and it’s not “always hire a pro.” Clean your sensors. Lubricate your hinges. Replace your bottom weather seal. Do your monthly visual inspection. Those tasks are yours, and doing them keeps small problems small. Hand over the springs, cables, drums, panels, and high-voltage opener work to a specialist, not because you’re incapable but because the physics don’t offer a second chance. If your door is wind-load-rated, add one more layer: the documentation a professional repair produces is part of the value. Lantern Garage Door Repair is a Beaumont garage door specialist – repair, opener service, and installation, from one dedicated company. Call (833) 549-9776 for a free estimate. We answer 24/7. Fast dispatch from 7am to 7pm, Sunday through Friday.
Written by the team at Lantern Garage Door Repair.